


No Dutch Oven? No Problem! Easy No-Knead Bread
I need to tell you something. For years, I wanted to eat pictures of rustic, artisan bread with a crust that was too crackly and a web of airy holes inside. I wanted that—the smell of a bakery in my own kitchen and the joy of cutting into a loaf that was still warm. But every recipe I found had one thing in common that I couldn’t change: the Dutch oven. My small kitchen didn’t have one, and to be honest, I didn’t want to spend a lot of money on a heavy pot just for bread. That’s why I am going to tell you about No Knead Bread without Dutch Oven
The no-knead bread method became very popular because it was so easy, but the Dutch oven was always shown as the secret weapon. It felt like a baker’s rite of passage that I couldn’t get to. But what if you don’t have one? Can you still get that perfect crust like a bakery? I’m so happy to tell you that the answer is a big YES.
You can make amazing no-knead bread without a Dutch oven, and it’s not even that hard. This guide will show you everything you need to know, from the basic ingredients to a step-by-step process that uses a clever trick to make the Dutch oven magic happen. Get ready to make the best loaf of bread you’ve ever made!
Why You’ll Love This Easy Bread Recipe
Even if you’ve never baked anything more complicated than toast, this recipe will make you feel like a kitchen genius.
- It’s straightforward: This recipe is very easy for beginners to follow. You don’t have to do any complicated things or knead for hours. Just mix and wait. It’s great for people who are new to baking bread.
- Minimal effort, maximum reward: The real magic of the no-knead method is that the long, slow fermentation does all the hard work for you. It develops an amazing depth of flavour and a beautiful texture, all while you get on with your life.
- No special equipment required: This is the main benefit. You don’t need to buy a heavy, expensive pot to make a loaf that tastes like it came from a bakery. All you need is your regular oven and some baking sheets.
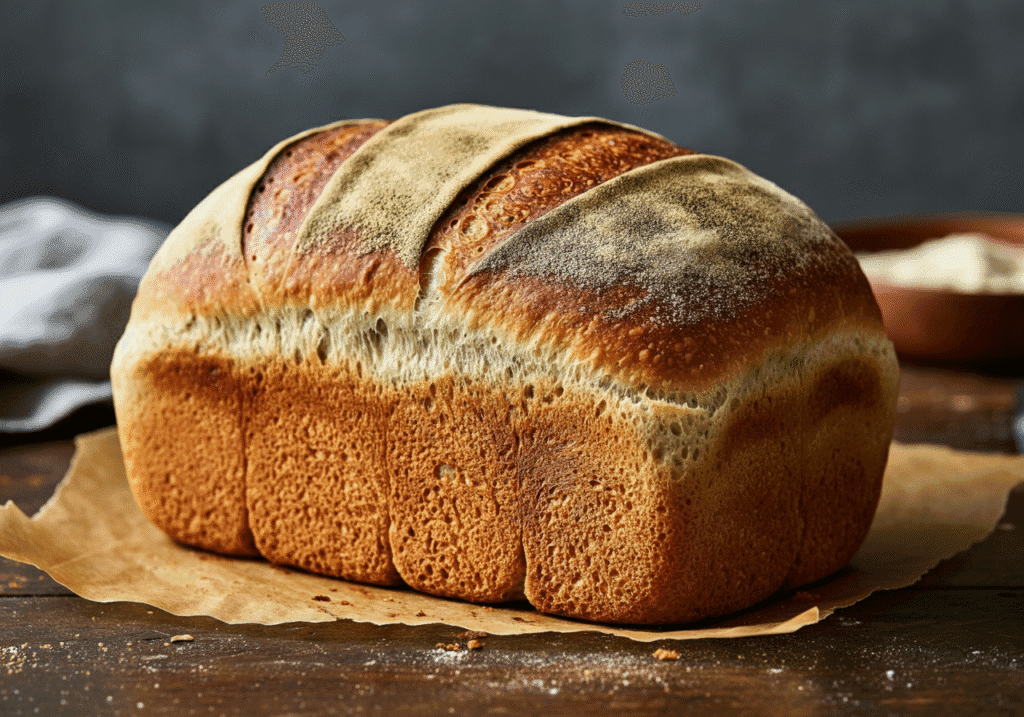
- That crispy crust & soft crumb: The result is simply too good to pass up. The crust will be a beautiful golden colour with a crackly texture. The inside will be light, airy, and chewy. This bread is great with just a little bit of butter on it.
Just 4 Simple Ingredients!
This no-knead bread recipe has a great short list of ingredients. You probably already have most of what you need.
- Strong white bread flour is the best kind of flour. The higher protein content is important for making a strong gluten structure, which gives the bread its chewy texture and helps it keep its shape. It will still work if you only have plain flour. Your loaf might not rise as high or be as chewy as it should be.
- Yeast: Instant yeast, which is also known as fast-action or easy-bake yeast, is the easiest to use because you can mix it right into the flour. You need to activate the active dry yeast before you can use it. To do this, dissolve it in lukewarm water for about 5 minutes, or until it gets foamy. Then, follow the recipe.
- Salt: You can’t make bread without salt. It does more than just add flavour; it also controls the yeast’s activity, making sure the bread rises slowly and steadily for a better taste.
- Water: Use water that is not too hot or too cold. Imagine it like a bath for a baby. The yeast will die if the water is too hot, and if it is too cold, the yeast will be slow, and your dough won’t rise properly.
How to Make No-Knead Bread Without a Dutch Oven
Here’s the step-by-step process. Don’t be intimidated by the long resting time; the hands-on part is incredibly quick!
Step 1: Mix the Dough
Mix the flour, yeast, and salt in a big bowl. Add the lukewarm water and mix with a wooden spoon or spatula until the dough is a sticky, shaggy mess. Check to see that there aren’t any dry spots of flour at the bottom. That’s it! No kneading, no trouble.
Step 2: The First Rise (Bulk Fermentation)
Use cling film, a tea towel, or a cover that can be used again to cover the bowl. Now, just go away. Let the dough sit at room temperature for 12 to 18 hours. This is where the taste gets better. When the dough has doubled in size and the surface is covered in bubbles, you will know it is ready.
Step 3: Shape the Loaf
Put some flour on a work surface and carefully tip the sticky dough out of the bowl. This next step is important for building tension, which helps the bread keep its shape and rise in the oven. Gently pull one edge of the dough out and fold it into the middle. Turn the dough and do this three or four times. Turn the dough over so that the seam side is down, and then gently cup your hands around it and roll it into a tight ball. Don’t work it too much; you want to keep those nice air bubbles.
Step 4: The Second Rise (Proofing)
Put your shaped loaf on a piece of parchment paper for baking. Cover it loosely with a tea towel and let it sit for another 30 to 60 minutes. It will get a little bigger, but it won’t get twice as big.
Step 5: Prepare the Oven (The “No Dutch Oven” Trick!)
This is the most important part of our bread recipe that doesn’t use a Dutch oven. We need to make the air humid. Put a heavy-duty baking tray or pizza stone on the middle rack of your oven and a deep metal roasting tin on the bottom rack. Set your oven to 230°C (210°C Fan / 450°F / Gas Mark 8). Let everything get really hot for at least 30 minutes.
Step 6: Bake the Bread
When the oven is hot, carefully lift the dough with the parchment paper and slide it onto the hot baking tray. Get a cup of hot water ready. Pour the water into the roasting pan on the bottom rack quickly and carefully. It will make a lot of steam right away. Close the oven door right away to keep it in.
The steam acts like a Dutch oven, keeping the crust moist while the first part of the baking takes place. This lets the bread rise all the way (this is called “oven spring”) before the crust sets.
For 20 minutes, bake with steam. Then, carefully take the roasting tin with the water out and bake the loaf for another 15 to 20 minutes, or until it is a deep golden brown and sounds hollow when you tap the bottom.
Tips for Baking Success
- Use a kitchen scale: Baking is a science. Weighing ingredients is much more accurate than using cups, and it will always give you the same results.
- Don’t rush the first rise: There is no way around that long, slow fermentation if you want to get deep, complex flavour. This is what gives this easy recipe its great taste.
- Be gentle when shaping: You’ve spent hours getting air bubbles into your dough. Be careful when shaping it so that you don’t lose that light, airy texture.
- Test for doneness: The “hollow sound” test is your best friend. If you tap the bottom of a loaf that has been baked correctly, it will sound hollow. You can also use a food thermometer to see if the inside has reached at least 93°C (200°F).
Your Best Loaf is Waiting
It’s not only possible to make tasty, crusty, artisan bread at home, but it’s also very easy, even if you don’t have a Dutch oven. You can make a bakery-quality loaf in your own oven with just a few simple ingredients and the power of steam. It’s not much work for a really great reward.
So, go ahead and try this recipe! I promise you’ll feel like a baking rock star. Please tell me how it turns out in the comments below. I can’t wait to see what you make!
Your No-Knead Bread Questions Answered
Can you bake no-knead bread without a Dutch oven?
Yes, of course! The most important thing is to make steam in your oven while the first part of the baking is going on. Putting a tray of hot water on the bottom rack makes the bread rise beautifully before the crust forms, just like a lidded Dutch oven does.
What can I use instead of a Dutch oven for bread?
A lot of things you already have in your kitchen work well. A pizza stone or a heavy-duty baking sheet works well for the base. A large casserole dish with a lid that fits tightly can also work if you want to keep the lid on. Just make sure it can handle the heat.
How long can you let no-knead dough rise?
The ideal window is between 12 and 24 hours at room temperature. If you leave the dough out for too long, the yeast will run out of food, and the dough will rise too much. This could make the bread flat and taste a little sour.