How to Display Cutting Boards on Kitchen Counter Without Clutter
The cleanest way to display cutting boards on a kitchen counter is to stand them upright against the backsplash or place them in a slim vertical rack. Keep only the boards you use often on display, vary their heights for a layered look, and leave space around wooden boards so both faces can dry after washing.
Cutting boards are large enough to make a counter look crowded quickly. A pile of boards lying flat also takes away prep space and forces you to move the entire stack each time you need the board underneath.
An upright arrangement uses much less counter depth. It also keeps daily-use boards within reach while letting attractive wood grain, handles, and board shapes become part of the kitchen setup.
The display should still work as storage rather than decoration alone. Boards that stay on the counter need a stable position, easy access, enough room to dry, and separation from areas where grease, sink water, or food splashes are common.
For the question how to display cutting boards on kitchen counter, a small group of two or three upright boards is usually a good starting point. A tall rectangular board in back, a shorter round or handled board in front, and a rack or backsplash for support can create an organized arrangement without filling the work surface.
Food use matters too. USDA guidance recommends using separate cutting boards for fresh produce and bread and for raw meat, poultry, and seafood to reduce cross-contamination. Keeping those boards clearly separated in storage can support that routine.
The sections below cover upright displays, cutting board racks, layered arrangements, small-counter setups, safe drying, placement, material choices, styling, and common display mistakes.
Best Ways to Display Cutting Boards on a Kitchen Counter
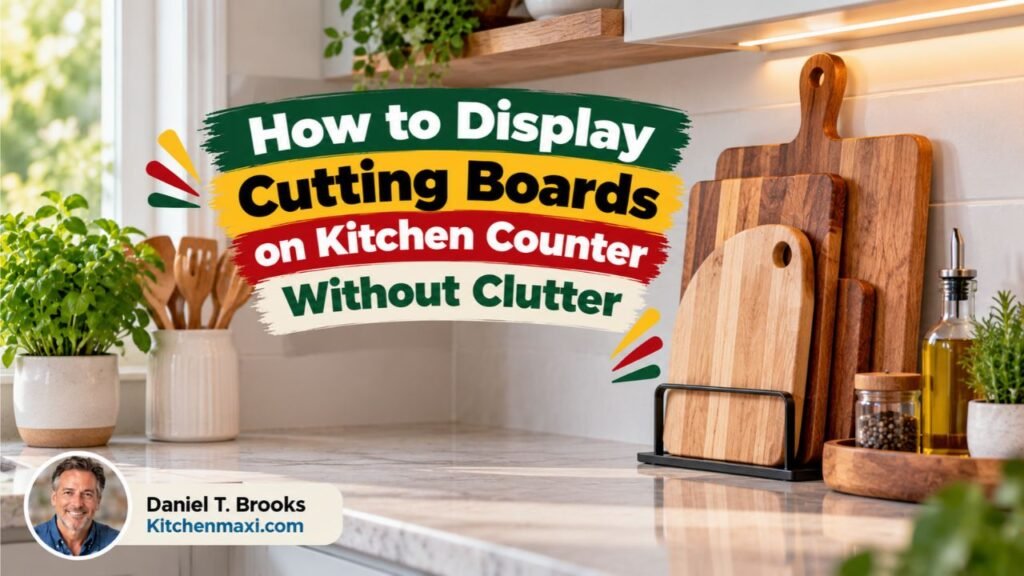
Countertop displays work best when the boards remain easy to remove without disturbing everything around them.
Lean Cutting Boards Against the Backsplash
Leaning boards against the backsplash is the simplest setup.
Place the largest board at the back and angle it slightly rather than pressing the entire face tightly against the wall. Add one smaller board in front if you want more depth.
This arrangement works well for:
- Large paddle boards
- Rectangular wood boards
- Round serving boards
- Charcuterie boards
- Handled boards
Make sure the boards cannot slide across a smooth stone or quartz counter. A small nonslip pad under the bottom edge can add stability without becoming visible.
Avoid building a thick stack of boards against the wall. Three boards with different heights usually look more intentional than eight boards crowded into the same corner.
Use a Vertical Cutting Board Rack
A countertop rack is a good option if you use several boards frequently.
Look for a rack with slots wide enough for the actual thickness of your boards. Thick butcher-block or end-grain boards may not fit racks made for thin plastic boards and baking sheets.
A vertical rack keeps each board separate, which has two advantages:
- You can pull out one board without moving the rest.
- Air can circulate between boards after they are fully washed and allowed to drain.
The rack should have a broad enough base that a heavy board cannot tip it forward.
Metal racks suit kitchens with stainless appliances or dark hardware. Wood racks blend naturally with wood cutting boards. A simple rack with little visual detail usually keeps the display from looking busy.
Layer Two or Three Cutting Boards
Layering works well when the boards have different dimensions.
A simple arrangement might use:
- One tall rectangular board at the back
- One medium paddle board in front
- One small round board offset to one side
Do not line up every edge perfectly. A small amount of overlap shows the shape of each board while keeping the group compact.
Mixing one round board with one or two rectangular boards also breaks up a row of straight lines.
Place Cutting Boards in a Countertop Basket
A narrow wire or woven basket can hold several boards upright.
This works well if the basket is:
- Heavy enough to stay stable
- Open enough for airflow
- Wide enough for the thickest board
- Easy to clean if food splashes reach it
Avoid a deep basket that hides most of the boards. The goal is to hold the lower edges securely rather than bury the boards.
Use a Tray to Define the Cutting Board Display
A shallow tray can visually separate a cutting-board group from the rest of the counter.
Place two upright boards at the back of the tray and add one small kitchen item in front, such as:
- Salt cellar
- Small utensil crock
- Mortar and pestle
- Small bowl
Keep the tray shallow enough that the boards remain easy to lift out.
A tray also lets you move the whole arrangement when you need the entire counter for baking or meal prep.
Key Takeaway: Leaning boards, vertical racks, layered groups, baskets, and shallow trays all work well. Keep the footprint small and make sure every daily-use board can be removed without dismantling the display.
How to Arrange Cutting Boards Without Making the Counter Look Cluttered
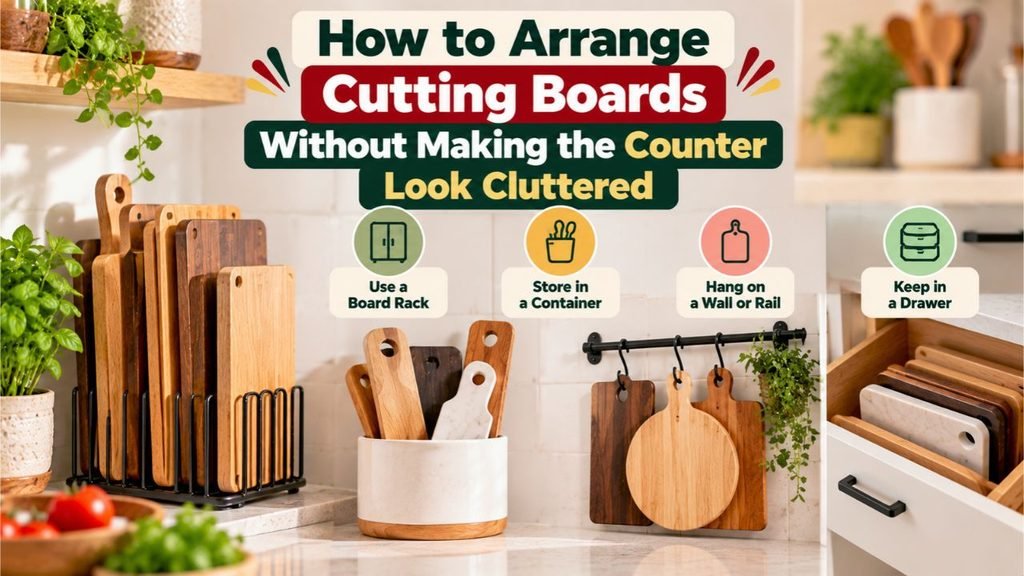
The number of boards on display matters as much as the storage method.
Display Only the Boards You Use or Like Looking At
You do not need to put every cutting board on the counter.
Keep daily-use boards and one or two attractive boards visible. Store duplicate plastic mats, worn backup boards, and rarely used carving boards in a cabinet or drawer.
This keeps the display connected to actual kitchen use.
A compact display might contain:
- One daily prep board
- One bread or produce board
- One attractive serving board
Vary Cutting Board Height
A group of boards with identical height can look like a file cabinet.
Use different heights so each shape remains visible.
For example, put a 16-inch paddle board behind a 12-inch rectangular board rather than placing two equal rectangles directly on top of each other.
Height variation also lets you create a layered display without spreading the boards across a large section of countertop.
Mix Shapes More Than Colors
A round board, paddle board, and rectangular board can create contrast even if all three are similar wood tones.
Too many colors, finishes, and materials in a small area can make the setup look crowded.
If your kitchen already has a lot of visible patterns, using similar wood tones can keep the board display quieter.
Leave Empty Counter Space Around the Boards
A cutting-board display needs visual separation from:
- Coffee maker
- Toaster
- Knife block
- Spice containers
- Paper towels
- Cooking utensils
Do not fill every inch between appliances.
Treat the boards as one grouped item rather than several unrelated objects scattered across the counter.
Keep the Display Easy to Move
Anything displayed near a food-preparation area will eventually need to move for cleaning.
Avoid building a setup with numerous decorative objects that must be relocated individually.
A rack, basket, or tray turns several boards into one movable group.
Key Takeaway: Limit the display to a small set, vary heights and shapes, leave open counter around the group, and keep the arrangement simple enough to move during cleaning.
How to Display Wooden Cutting Boards Safely
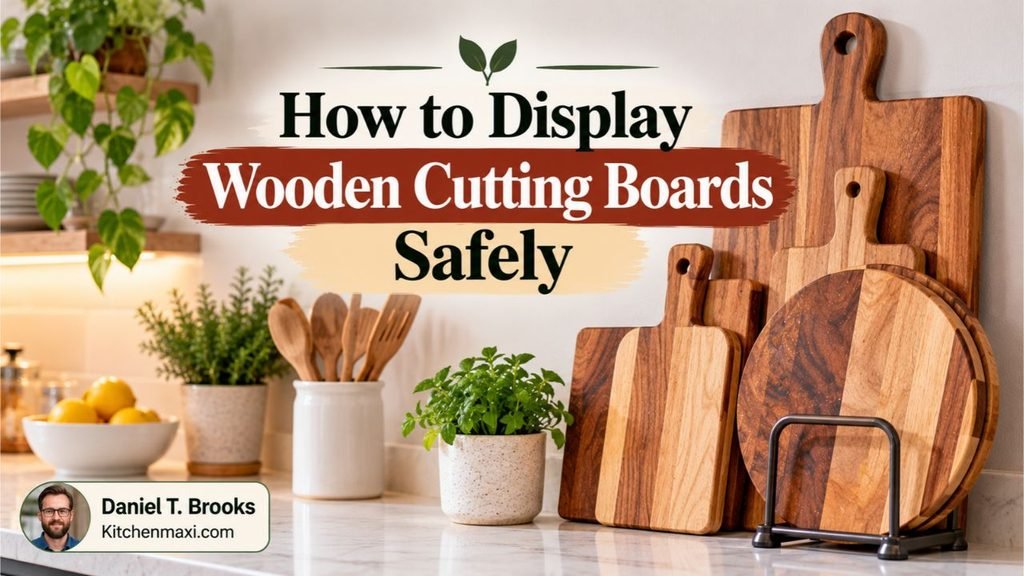
Wood boards look attractive on a counter, but moisture management matters more than appearance.
Let Wooden Boards Dry Before Grouping Them
Do not wash a wood cutting board and immediately press it between two other boards.
The University of Maine Cooperative Extension recommends allowing cutting boards to air-dry completely and positioning them vertically or on a rack for airflow. It also advises against stacking wet boards or leaving them flat for long periods because trapped moisture can support mold growth.
If a board has just been washed, give it extra space before returning it to a tight display.
A rack with separated slots is useful for boards that also use their storage location as the final drying position.
Avoid Pressing Damp Boards Flat Against the Backsplash
A wood board pushed flat against tile or stone exposes one face to air while restricting the other.
Instead, lean it at a slight angle or use a rack that leaves a gap behind it.
Both large faces should have access to moving air as the board finishes drying.
Keep Boards Away From Standing Water
Do not place wood boards directly beside a sink if the area is routinely wet.
Water can collect around:
- Board feet
- End grain
- Lower edges
- Rack bottoms
A board that repeatedly sits in a wet spot may absorb moisture unevenly.
Move the display several inches away from regular sink splashes, or dry the counter promptly after washing dishes.
Keep Wood Boards Away From Strong Heat
Do not use the space directly beside a hot burner, toaster oven exhaust, or other strong heat source for wood-board storage.
Repeated uneven heating and drying are poor conditions for natural wood.
The area beside a range can also collect cooking grease, which means displayed boards may need more frequent cleaning.
Keep Raw-Meat Boards Clearly Separated
If you use a dedicated board for raw meat, poultry, or seafood, store it in a way that makes its purpose obvious.
A separate rack slot, different color, or separate cabinet location reduces the chance of grabbing it accidentally for bread or ready-to-eat produce.
USDA recommends separate boards for raw animal foods and foods such as fresh produce or bread when possible.
Key Takeaway: Wooden boards should be clean, dry, separated enough for airflow, and kept away from repeated water or strong heat. Raw-meat boards should remain easy to identify from produce and ready-to-eat-food boards.
How to Display Cutting Boards on a Small Kitchen Counter
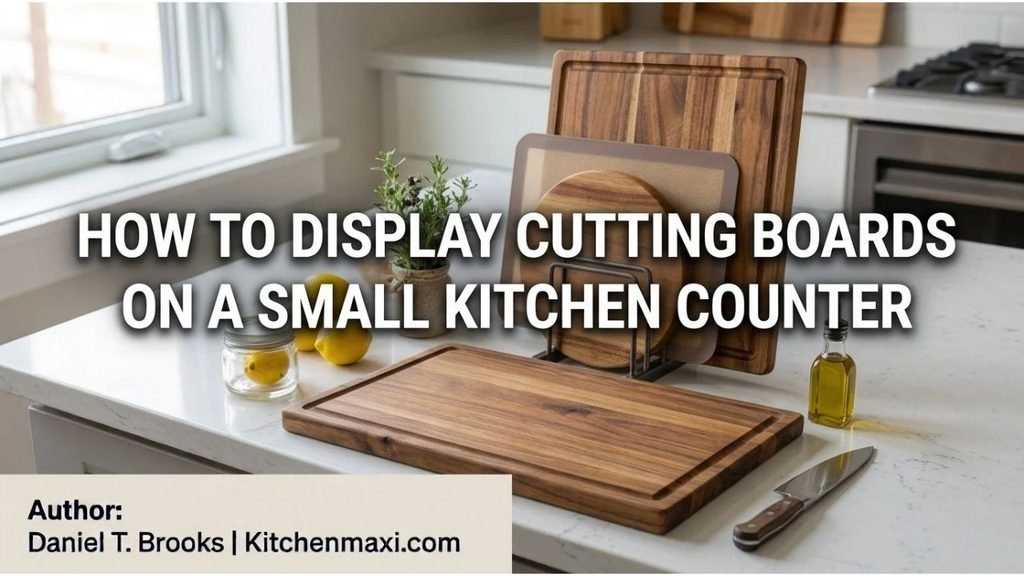
A small counter needs a display with very little depth.
Use a Slim Vertical Rack
A narrow rack that holds boards edge-first uses less counter area than laying them flat.
Place the rack against a backsplash or at the end of a counter rather than in the center of the prep zone.
Choose enough slots for the boards you actually use. A six-slot holder wastes space if only two boards need countertop storage.
Use a Kitchen Corner
An unused backsplash corner can hold a layered board display without breaking up the main preparation area.
Put the tallest board against the corner and overlap smaller pieces in front.
Make sure neither side blocks:
- Cabinet doors
- Electrical outlets
- Appliance vents
- Sink access
Display One Board and Store the Rest
In a very small kitchen, one attractive daily-use board may be enough.
Stand it vertically against the backsplash, then store extra boards in:
- Cabinet divider
- Deep drawer
- Vertical bakeware organizer
- Pantry slot
This preserves the decorative effect without giving up much working space.
Use the Board as Part of the Prep Area
A large board that stays on the counter permanently can sometimes function as the main preparation surface.
This works best with a heavy board that:
- Does not slide
- Does not block the sink or stove
- Can be lifted for cleaning
- Has enough clearance around it
Do not leave food residue underneath a permanent countertop board. Lift it regularly and clean both the board and counter.
Key Takeaway: Small kitchens benefit from edge-first storage, corner placement, and fewer displayed boards. Keeping one attractive board visible is often cleaner than squeezing an entire collection onto a narrow counter.
How to Display Different Cutting Board Materials
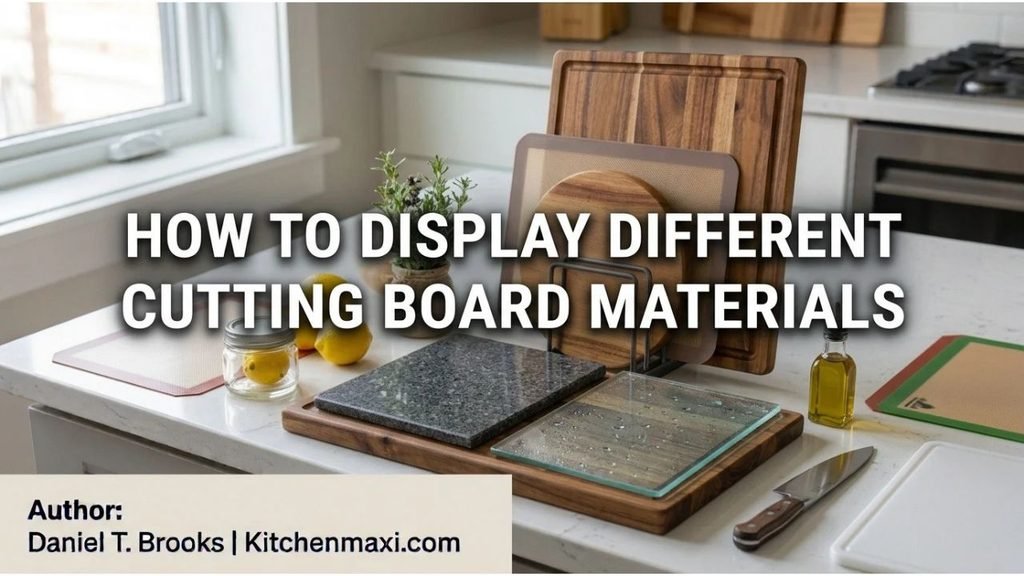
Material affects both the appearance of the display and the way the boards should be stored.
Displaying Wood Cutting Boards
Wood boards are often the easiest to use as visible decor because grain, handles, and edge profiles add natural texture.
Try grouping boards with similar wood tones but different shapes.
For example:
- Walnut rectangle
- Maple paddle board
- Small round cherry board
If a board is still damp, prioritize drying space over the appearance of the arrangement.
Displaying Bamboo Cutting Boards
Bamboo boards can be treated similarly to wood for countertop display.
Stand them vertically and keep them dry between uses.
Their lighter color pairs well with white, black, stainless-steel, or natural-wood kitchens.
Avoid packing several damp bamboo boards tightly together.
Displaying Plastic Cutting Boards
Plastic boards are practical, but a group of thin colored boards can look more like storage than decor.
A vertical rack is usually cleaner than layering them against the backsplash.
Color-coded plastic boards can also make food separation easy to recognize. If one color is reserved for raw meat, keep that system consistent.
Displaying Marble or Stone Boards
A stone board can act as the front or back piece in a small display, but weight changes the setup.
Do not place a heavy marble board in a lightweight wire holder that can tip.
A heavy board leaning against a backsplash also needs a stable bottom edge.
Stone boards are harder on knife edges than wood or many plastics, so some homeowners use them more for serving, pastry work, or display than routine chopping.
Key Takeaway: Wood and bamboo suit layered displays, plastic works neatly in slotted racks, and heavy stone boards need a stable support that can carry their weight safely.
Where to Place Cutting Boards on the Kitchen Counter
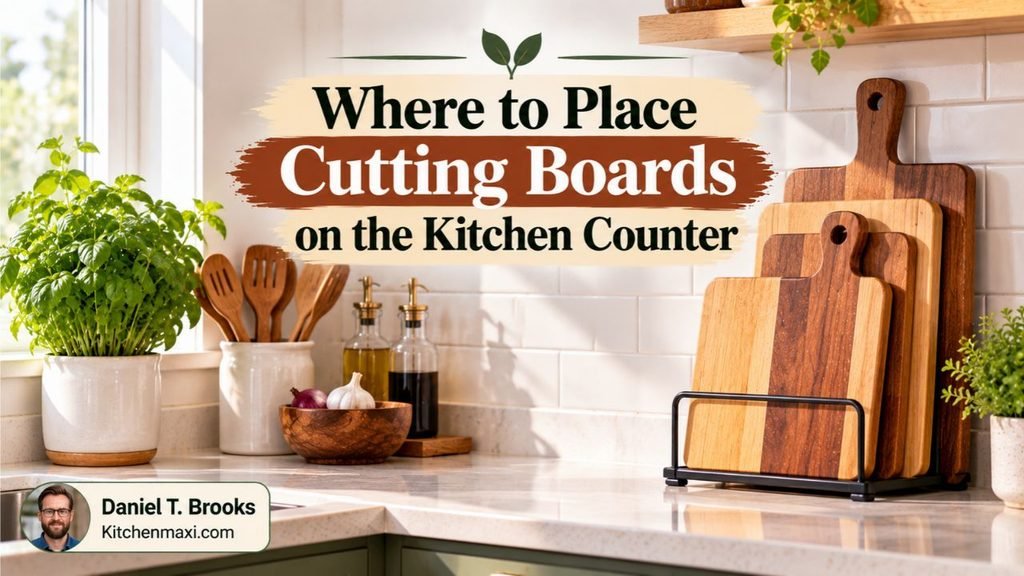
The best location is close to where you prepare food without occupying the main cutting space.
Near the Main Prep Zone
If most chopping happens beside the sink or near a kitchen island, place frequently used boards within one or two steps of that area.
The board should be easy to grab without reaching behind hot cookware or moving an appliance.
Against an Unused Backsplash Section
A quiet stretch of backsplash is ideal for upright storage.
Good locations may include:
- End of a cabinet run
- Counter corner
- Area beside a pantry cabinet
- Section between prep zones
Leave the busiest section of countertop open for actual food preparation.
Away From Grease and Cooking Splatter
Boards placed directly behind or beside a cooktop can collect grease.
That location may look appealing in photos, but it can create extra cleaning if the boards are used for food.
A nearby counter section outside the normal splatter area is easier to maintain.
Away From Constant Sink Splash
A display near the sink is convenient, but do not put wooden boards where their bottom edges remain wet.
If sink placement is your only option, use a rack that lifts or separates the boards from pooled water.
Cutting Board Display Ideas for Different Kitchen Styles
The same storage method can look very different based on the boards you choose.
Minimal Kitchen
Display one or two boards in similar colors.
A simple wood board against a plain backsplash adds texture without creating a crowded arrangement.
Keep other countertop decor limited around it.
Farmhouse Kitchen
Paddle boards, handled boards, and natural wood fit easily into farmhouse-style kitchens.
Layer different shapes rather than lining them up evenly.
A wire rack or simple wood holder keeps the setup practical.
Dark or Modern Kitchen
Light maple, beech, or bamboo can create contrast against dark cabinets and backsplashes.
A black metal rack also blends well with dark hardware.
Keep the board shapes clean rather than using many decorative accessories around them.
Warm Traditional Kitchen
Medium and dark wood tones can connect visually with wood cabinetry, flooring, or furniture.
Use different sizes rather than several competing wood species if the room already contains many visible finishes.
Common Cutting Board Counter Display Mistakes
A few display habits create clutter or shorten the useful life of the boards.
Avoid these common problems:
- Displaying every board you own: Keep backups and rarely used boards elsewhere.
- Stacking wet boards together: Give freshly washed boards room to air-dry.
- Blocking the main prep area: Move the display toward a backsplash corner or end of the counter.
- Using an unstable rack: Heavy boards need a broad, solid base.
- Putting boards directly beside constant sink water: Repeated moisture is a poor setup for wood.
- Crowding boards against hot appliances: Leave distance from strong heat and greasy cooking areas.
- Mixing food-use boards without a system: Keep raw-meat boards clearly identified.
- Hiding worn or cracked surfaces in a decorative stack: USDA advises replacing boards that become excessively worn or develop hard-to-clean grooves.
- Adding too many decorative objects: Cutting boards already create shape and texture; they do not need a large group of accessories around them.
Conclusion
For how to display cutting boards on kitchen counter, upright storage gives the strongest mix of appearance, access, and space control. Lean two or three boards against the backsplash, place them in a stable vertical rack, or group them in a slim basket or tray.
Keep the arrangement compact. Different heights and shapes create enough visual interest without covering the counter, while a little separation around wood boards gives them room to finish drying after cleaning.
I recommend starting with the boards you reach for most often rather than choosing pieces only for appearance. If the arrangement gets in the way during cooking or cleaning, reduce the number of displayed boards until the counter feels open again.
Food-use boards should stay clean, dry, and easy to identify. Give raw-meat boards a clear separation from boards used for produce, bread, and other ready-to-eat foods.
FAQs About Displaying Cutting Boards on a Kitchen Counter
Is It Better to Store Cutting Boards Vertically or Flat?
Vertical storage is a strong option for countertop display because it uses little counter depth and exposes more of each board to air.
A fully dry board can also be stored flat, but wet boards should not be stacked together. Vertical drying or a rack gives moisture more opportunity to leave both faces.
How Many Cutting Boards Should I Display on the Counter?
Two or three boards work well in many kitchens.
A larger counter may handle more, but displaying every board often starts to look like storage overflow rather than an intentional arrangement. Keep the boards you use frequently or enjoy seeing and move the rest to a cabinet or drawer.
Can I Lean Wooden Cutting Boards Against the Backsplash?
Yes.
Lean them at a slight angle rather than pressing a damp board completely flat against the backsplash. Make sure the bottom edge is stable and cannot slide. After washing, give the board enough open space to dry before placing it tightly behind another board.
Should Cutting Boards Be Stored Near the Sink?
They can be stored near the sink if the area stays dry.
Avoid a location where water routinely pools around the lower edge of a wooden or bamboo board. A raised or slotted rack is a better setup if sink splash is common.
How Do I Display Cutting Boards in a Small Kitchen?
Use one or two boards in a slim vertical rack or lean a single board in an unused backsplash corner.
Store less-used boards vertically inside a cabinet. This keeps the countertop display visible without taking away the work area needed for cooking.
Can Plastic and Wood Cutting Boards Be Displayed Together?
Yes.
A rack with separate slots keeps thin plastic boards from disappearing behind thicker wood boards. You can also keep the wood pieces visible at the front and place color-coded plastic food-prep boards in their own section.
Should Raw-Meat Cutting Boards Be Displayed With Other Boards?
They can share a storage area if they are fully cleaned, dried, and clearly identifiable, but a separate slot or distinct color is a sensible setup.
USDA recommends using separate boards for raw meat, poultry, and seafood and for foods such as produce and bread when possible.
How Do I Keep Cutting Boards From Sliding on the Counter?
Use a stable rack or add a small nonslip mat beneath the bottom edge of a leaning board.
For heavy boards, choose a holder with a broad base and slots sized for the board thickness. Avoid balancing large boards in narrow lightweight stands that can tip when a board is removed.