How to Use a Mini Food Chopper Safely for Fast, Even Chopping
A mini food chopper works best when ingredients are cut into small, even pieces, the bowl is kept below its maximum fill line, and the blade is operated with short pulses instead of long continuous runs. Add firm foods first, keep liquids limited, and stop as soon as the texture reaches the size you want.
Mini food choppers are designed for small food-preparation jobs that would otherwise require repeated knife work. They are especially handy for chopping onions, garlic, herbs, nuts, vegetables, cooked meat, breadcrumbs, and small batches of sauces or dips.
Although these compact appliances look simple, ingredient size and chopping technique make a major difference. Filling the bowl too high or holding the button continuously can leave some pieces almost untouched while turning others into paste.
If you are learning how to use a mini food chopper, the basic process is to assemble the blade correctly, add properly prepared ingredients, secure the lid, pulse in short bursts, inspect the texture, and stop before the food becomes overprocessed.
A mini chopper is not simply a smaller blender. Its short blade and compact bowl are better suited to chopping and mincing than processing large volumes of liquid.
Using the right amount of food also matters. A small bowl works efficiently when ingredients can circulate around the blade instead of being packed tightly against the sides.
How to Use a Mini Food Chopper Step by Step

Most mini food choppers follow a similar operating process, although controls and locking systems vary by brand.
Step 1: Place the Mini Food Chopper on a Stable Surface
Set the base on a:
- Flat counter
- Dry surface
- Stable work area
Keep it away from the edge of the counter.
If the chopper has a power cord, position the cord where it cannot be pulled accidentally.
Step 2: Install the Mini Food Chopper Blade
Place the chopping bowl onto the motor base according to the appliance design.
Then install the blade assembly onto the center shaft.
The blade should sit:
- Fully seated
- Straight
- Free to rotate
Do not force it if it does not fit naturally.
Mini chopper blades are extremely sharp, so hold the blade assembly by its upper plastic hub whenever possible.
Step 3: Prepare Food Before Chopping
Cut large ingredients into smaller pieces before they enter the bowl.
A useful starting size is approximately:
1/2 to 1 inch
depending on the ingredient and the size of the bowl.
For example:
- Quarter a small onion.
- Cut carrots into short pieces.
- Separate garlic cloves.
- Cut celery into short sections.
- Break large nuts into smaller portions if necessary.
Starting with similarly sized pieces gives the blade a better chance of producing an even chop.
Step 4: Add Food to the Mini Chopper Bowl
Place the prepared ingredients around the blade.
Do not pack them tightly.
Keep food below the manufacturer’s maximum fill line.
If there is no visible line, leave enough open space for the ingredients to move during chopping.
Step 5: Secure the Mini Chopper Lid
Fit the lid into its locked position.
Many electric mini choppers have a safety interlock that prevents the motor from running unless the bowl and lid are installed correctly.
If the motor does not start, check the alignment before assuming the appliance is defective.
Step 6: Pulse the Food Chopper
Press the pulse control briefly.
A good technique is:
- Pulse for about one second.
- Release.
- Let the food settle.
- Pulse again.
- Inspect after several pulses.
Short pulses give you much more control than holding the motor continuously.
Step 7: Check the Chopped Food
Stop the appliance and disconnect power before opening it when required by the manufacturer.
Inspect the texture.
If pieces are still too large, pulse again.
If ingredients are stuck high on the sides, use a spatula to move them downward only after the blade has completely stopped and power is disconnected.
Step 8: Remove the Mini Chopper Blade Carefully
When chopping is complete, remove the blade before trying to scrape food from the bowl.
Lift it by the center hub.
Place the blade somewhere safe where its sharp edges cannot be contacted accidentally.
Step 9: Empty the Chopped Food
Use a silicone or plastic spatula to remove the food.
Avoid scraping aggressively against the blade or bowl with metal utensils.
Key Takeaway: Prepare ingredients in small pieces, avoid overfilling the bowl, use short pulses, and stop frequently to check the food instead of running the mini food chopper continuously.
How Much Food to Put in a Mini Food Chopper
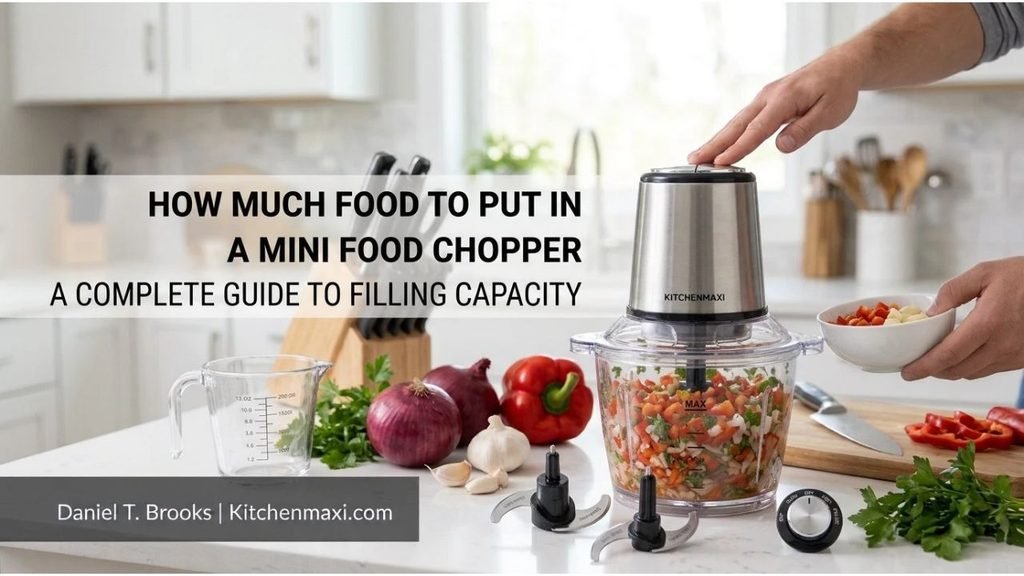
Bowl capacity directly affects chopping quality.
Do Not Fill the Mini Chopper to the Top
The food needs room to move around the blade.
If the bowl is completely packed, the bottom ingredients may become finely minced while the upper pieces remain large.
Use Smaller Batches for Firm Foods
Ingredients such as:
- Carrots
- Celery
- Nuts
- Firm vegetables
often chop more evenly in small batches.
Use Less Food for Fine Chopping
If your goal is a very fine mince, give the ingredients more room to circulate.
A loosely filled bowl usually processes more evenly than a tightly packed one.
Watch the Maximum Fill Line
Some mini choppers have separate limits for:
- Dry ingredients
- Liquids
Follow the appliance markings.
Liquids can rise rapidly during processing, so the usable liquid capacity may be lower than the total bowl volume.
Key Takeaway: Leave enough empty bowl space for food to circulate; smaller batches usually produce a more even mini food chopper result.
How to Prepare Ingredients for a Mini Food Chopper
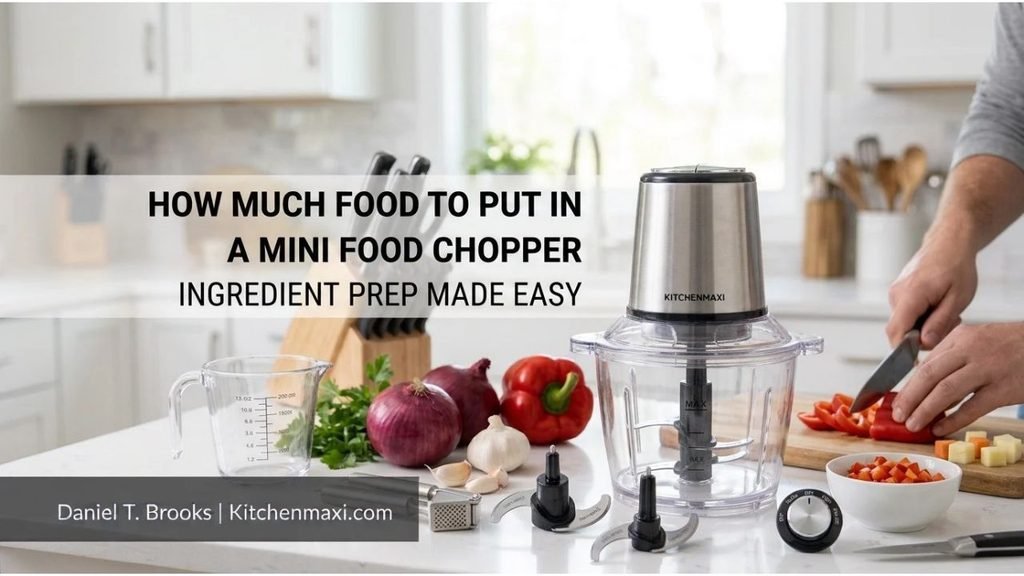
Good chopping starts before the motor turns on.
Cut Large Vegetables First
Do not place an entire large onion, carrot, or pepper into a small chopper bowl.
Cut it into manageable sections.
Remove Hard Parts
Depending on the food, remove:
- Fruit pits
- Large seeds
- Tough stems
- Bones
- Hard shells
These can damage the blade or create unpredictable chopping.
Drain Very Wet Ingredients
Extra water can make chopped food:
- Mushy
- Uneven
- More like puree
Pat washed herbs or vegetables dry if you want a dry chopped texture.
Cool Cooked Food Before Chopping
Do not place extremely hot food into a plastic mini chopper unless the manufacturer specifically allows it.
Hot ingredients can:
- Damage plastic
- Build pressure
- Affect seals
Allow cooked food to cool first.
Key Takeaway: Cut large ingredients down, remove hard non-edible parts, control excess moisture, and avoid adding very hot food unless the chopper is rated for it.
How to Chop Vegetables in a Mini Food Chopper
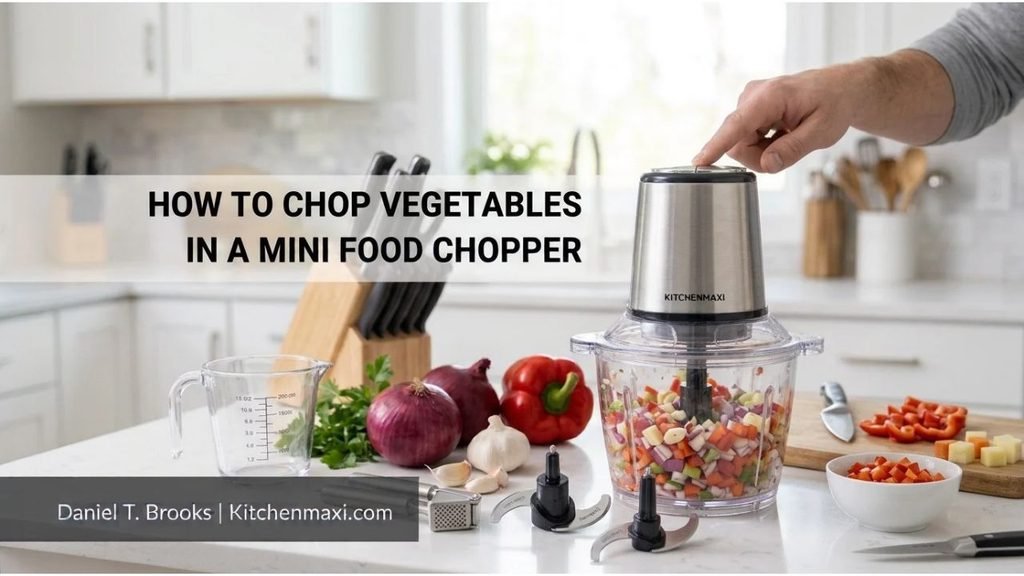
Vegetables are one of the most common mini chopper uses.
Start With Even Vegetable Pieces
Cut vegetables into pieces of roughly similar size.
This is especially useful for:
- Carrots
- Peppers
- Celery
- Zucchini
- Cabbage
Use Short Pulses
For a coarse vegetable chop, only a few pulses may be needed.
For finer pieces, continue gradually.
Do Not Run Too Long
Vegetables contain water.
Long continuous processing can break down their cell structure and release moisture, creating a wet, pulpy result.
Work in Batches
If preparing a large quantity, empty the bowl between batches rather than overloading it.
This keeps the texture more consistent.
Key Takeaway: Vegetables chop best when cut into even starting pieces and processed with several short pulses instead of one long motor cycle.
How to Chop Onions in a Mini Food Chopper
A mini chopper can save time when preparing onions.
Peel and Quarter the Onion
For a small onion:
- Remove the skin.
- Trim the root and stem as needed.
- Cut the onion into quarters or smaller chunks.
A large onion may require multiple batches.
Pulse for Different Onion Textures
For coarse onions:
- Use only a few pulses.
For finely minced onions:
- Continue pulsing while checking frequently.
Avoid Onion Puree
Holding the motor too long releases more onion liquid and can turn the pieces into a wet paste.
For dishes where distinct onion pieces matter, stop earlier than you think you need to.
How to Chop Garlic in a Mini Food Chopper
Garlic works well in a mini bowl because the appliance can mince several cloves quickly.
Peel the Garlic Cloves
Remove the outer skin.
Large cloves can be cut in half.
Use Enough Garlic for the Blade to Catch
One very small garlic clove may sit below or beside the blade without chopping evenly.
Several cloves often process better.
Pulse Until Minced
Garlic can move from coarse to paste quickly.
Use short pulses and inspect frequently.
Add Herbs if the Recipe Calls for Them
Garlic and fresh herbs can often be processed together when the recipe uses both ingredients.
How to Chop Herbs in a Mini Food Chopper
Herbs require a lighter approach.
Dry the Herbs First
After washing herbs such as:
- Parsley
- Cilantro
- Basil
- Mint
remove excess water.
Wet leaves can stick to the bowl.
Remove Tough Stems
Tender stems may be acceptable depending on the herb.
Large woody stems should be removed.
Do Not Pack the Bowl
Herbs need space to move.
Loosely fill the bowl and pulse.
Stop Before They Become Wet
Overprocessing herbs can bruise them and release moisture.
Short pulses preserve a more chopped appearance.
Key Takeaway: Garlic and herbs require short pulses because their texture can change from chopped to paste much faster than firm vegetables.
How to Chop Nuts in a Mini Food Chopper
Nuts are another good match for a compact food chopper.
Use Dry Nuts
The bowl and nuts should be dry unless your recipe requires otherwise.
Process Small Batches
Add only enough nuts to let them move around the blade.
Pulse for Chopped Nuts
For toppings or baking, use quick pulses.
Stop when you reach:
- Coarse pieces
- Medium chop
- Fine pieces
Avoid Making Nut Butter Accidentally
Nuts release oil as they are processed.
If you keep running the chopper, finely chopped nuts can start forming a paste.
That may be desirable for nut butter but not for chopped baking nuts.
Key Takeaway: Pulse nuts carefully and stop early because extended processing releases natural oils and changes chopped nuts into a paste.
How to Use a Mini Food Chopper for Meat
Some mini food choppers can process boneless cooked or raw meat, but model instructions matter.
Check Whether the Mini Chopper Is Rated for Meat
Not every small appliance has enough power for raw meat.
Read the manufacturer’s allowed food list first.
Cut Meat Into Small Cubes
Remove:
- Bones
- Large pieces of gristle
- Very tough connective tissue
Small cubes process more evenly.
Keep Raw Meat Cold
Cold meat is easier to chop cleanly than warm, soft meat.
For food safety, avoid leaving raw meat at room temperature unnecessarily.
Clean the Bowl Immediately
Raw meat residue should not remain on:
- Blade
- Bowl
- Lid
- Seals
Wash all food-contact parts using the manufacturer’s approved cleaning method.
Prevent Cross-Contamination
Do not use contaminated chopper parts for:
- Salad vegetables
- Herbs
- Ready-to-eat food
until they have been thoroughly cleaned.
Key Takeaway: Only chop meat if the appliance allows it, keep raw meat cold, remove bones, and clean every food-contact component immediately afterward.
Can You Make Salsa in a Mini Food Chopper?
Yes, small-batch salsa is a common use.
Add Firm Ingredients First
You might begin with:
- Onion
- Garlic
- Pepper
Pulse these briefly.
Add Softer Ingredients Later
Then add:
- Tomato
- Herbs
- Lime juice
This prevents the tomato from turning watery before the firmer foods are chopped.
Pulse, Do Not Blend
A few short pulses maintain a chunky texture.
Continuous operation can turn salsa into a thin puree.
Can You Make Hummus in a Mini Food Chopper?
Some mini choppers can prepare small batches of hummus.
The bowl needs enough room for ingredients to circulate.
Typical Ingredients May Include
- Cooked chickpeas
- Tahini
- Lemon juice
- Garlic
- Oil
- Seasoning
Stop and Scrape the Bowl
Thick mixtures may stick to the sides.
Stop the machine, disconnect power, scrape the bowl, and continue.
Watch the Motor
Very thick mixtures can put more load on a small motor.
If the chopper slows or becomes hot, stop rather than forcing it.
Can You Make Breadcrumbs in a Mini Food Chopper?
Yes.
Use Dry Bread
Dry or lightly toasted bread produces better crumbs than soft fresh bread.
Break Bread Into Pieces
Tear it into chunks that fit easily into the bowl.
Pulse for the Desired Texture
Use fewer pulses for coarse breadcrumbs.
Continue longer for finer crumbs.
Can a Mini Food Chopper Make Puree?
Some can, but chopping and pureeing are different jobs.
Soft Foods Puree More Easily
Suitable foods may include:
- Cooked vegetables
- Soft fruit
- Cooked beans
Add Liquid Gradually
If a recipe needs liquid, add small amounts rather than filling the bowl immediately.
A Blender May Work Better
For very smooth:
- Soups
- Smoothies
- Large sauce batches
a blender usually produces better circulation and a finer texture.
Key Takeaway: A mini food chopper can handle small salsa, hummus, breadcrumb, and soft-food puree jobs, but it is not intended to replace a blender for large liquid-heavy recipes.
How Long to Run a Mini Food Chopper
Most chopping jobs should be measured in pulses rather than minutes.
Coarse Chop
Try:
- 2–4 short pulses
then inspect.
Medium Chop
Continue with a few additional pulses.
Fine Chop
Pulse repeatedly while checking after every few cycles.
Paste or Puree
Longer processing may be needed, but check whether the appliance is designed for continuous operation.
Avoid Excessive Continuous Running
Compact motors can heat quickly.
If the manufacturer specifies a maximum continuous operating time, do not exceed it.
Key Takeaway: Control mini food chopper texture by counting short pulses rather than holding the motor on continuously.
How to Keep Mini Food Chopper Results Even
Uneven chopping usually comes from setup rather than lack of motor power.
Use Similar Starting Pieces
Large size differences create uneven results.
Do Not Overfill
Ingredients need to circulate.
Pulse and Pause
Pausing lets food fall back toward the blade.
Scrape the Bowl When Necessary
Stop and disconnect power before scraping.
Process Similar Textures Together
Hard carrots and very soft tomatoes do not always chop evenly when placed in the bowl at the same time.
Process firm ingredients first or separately.
Key Takeaway: Even chopping comes from uniform starting pieces, open bowl space, pulse-and-pause operation, and separating ingredients with very different textures.
Why Is My Mini Food Chopper Not Chopping Evenly?
Several problems can cause inconsistent results.
Bowl Is Too Full
This is one of the most common causes.
Reduce the batch size.
Food Pieces Are Too Large
Pre-cut them before processing.
Food Is Stuck Above the Blade
Stop the appliance and scrape the ingredients down.
Blade Is Not Installed Correctly
Remove and reinstall it according to the manufacturer’s instructions.
Blade Has Become Dull
A damaged or worn blade may stop cutting cleanly.
Replace it with an approved part when required.
Ingredients Are Too Wet
Excess moisture can cause food to stick together rather than circulate.
Key Takeaway: Uneven mini chopper results usually come from overfilling, oversized pieces, excess moisture, incorrect blade installation, or a worn blade.
Why Does a Mini Food Chopper Turn Food Into Mush?
Overprocessing is the usual reason.
Pulses Are Too Long
Shorten each pulse.
Too Many Pulses
Check the texture more often.
Ingredients Are Naturally Watery
Foods such as:
- Tomato
- Onion
- Cucumber
release moisture as their cells break down.
Bowl Is Overloaded
Food near the bottom receives much more blade contact than food at the top.
Reduce batch size.
What Not to Put in a Mini Food Chopper
Small choppers have limits.
Avoid ingredients the manufacturer prohibits.
Bones
Do not attempt to chop bones in a normal mini food chopper.
Ice
Only use ice if the appliance specifically states that its blade, bowl, and motor can handle it.
Coffee Beans
A coffee grinder is usually better suited to achieving a controlled grind.
Very Hard Spices
Hard whole spices may damage blades or plastic bowls unless the appliance is rated for them.
Hot Liquids
Hot food can damage some plastic components and may create pressure.
Excessive Liquid
A mini chopping bowl is usually not designed like a sealed blender jar.
Frozen Hard Foods
Large rock-hard frozen pieces can overload the blade or motor.
Key Takeaway: Avoid bones, unapproved ice, very hard ingredients, excessive liquid, and hot food that falls outside the mini chopper manufacturer’s instructions.
How to Clean a Mini Food Chopper After Use
Cleaning immediately keeps food from drying around the blade and lid.
Unplug the Mini Chopper
Disconnect power before disassembly.
Remove the Blade Carefully
Hold the blade assembly by its non-cutting hub.
Do not reach blindly into soapy water containing the blade.
Wash the Bowl and Lid
Depending on the model, these parts may be:
- Hand-wash only
- Top-rack dishwasher safe
- Fully dishwasher safe
Follow the product instructions.
Wash the Blade Separately
Clean it where you can see the sharp edges.
Do not toss it loosely into a sink full of dishes.
Wipe the Motor Base
The motor unit normally should not be submerged.
Use a slightly damp cloth and dry it afterward.
Dry Before Reassembly
Moisture around:
- Blade shaft
- Electrical connections
- Motor coupling
should be avoided.
Key Takeaway: Unplug the appliance, handle the blade by its hub, wash removable food-contact parts promptly, and never immerse the motor base unless the manufacturer explicitly permits it.
Mini Food Chopper Safety Tips
The small size should not make the blade seem harmless.
Never Touch the Blade While Assembled and Powered
Disconnect power before reaching into the bowl.
Use a Spatula Instead of Fingers
If food is trapped near the blade, remove the blade first whenever practical.
Keep Children Away During Operation
Do not leave the appliance plugged in where a child can activate it.
Inspect the Bowl for Cracks
Stop using a damaged plastic bowl that no longer locks correctly.
Do Not Bypass the Safety Interlock
If the chopper will not run unless the lid is locked, that feature is intentional.
Do not attempt to defeat it.
Stop if the Motor Struggles
A stalled or slow motor may indicate:
- Too much food
- Food that is too hard
- Jammed blade
Switch it off instead of forcing the motor to continue.
Key Takeaway: Disconnect power before touching the blade, never bypass the lid lock, and stop the motor if the blade jams or the appliance begins struggling.
Mini Food Chopper vs Food Processor
The appliances overlap, but they are intended for different batch sizes.
Mini Food Chopper
Better for:
- Onion
- Garlic
- Herbs
- Nuts
- Small sauces
- Small prep jobs
Advantages include:
- Small footprint
- Fast cleanup
- Easy storage
- Quick setup
Full-Size Food Processor
Better for:
- Large batches
- Dough on capable models
- Shredding
- Slicing
- Larger purees
- Bulk food preparation
A food processor may include multiple discs and attachments that a mini chopper does not.
Which One Is Better for Everyday Chopping?
If you frequently need only a small onion, handful of nuts, garlic, or herbs, a mini chopper can be faster because there are fewer parts to clean.
Key Takeaway: A mini food chopper is better for quick small batches, while a full-size food processor handles larger quantities and more specialized preparation tasks.
Manual Mini Food Chopper vs Electric Mini Food Chopper
Mini choppers can be powered in different ways.
Electric Mini Food Chopper
An electric model uses a small motor.
Advantages include:
- Fast chopping
- Minimal hand effort
- Consistent blade speed
Manual Pull Chopper
A pull-cord chopper spins the blade when the user pulls a handle.
Advantages include:
- No electricity needed
- Easy portability
- Greater manual control
Push-Down Chopper
Some models use repeated downward pressure to rotate or move the blade.
These work well for basic vegetables but may not produce the same texture as electric machines.
Common Mini Food Chopper Mistakes
Most problems are easy to avoid.
Filling the Bowl Too High
This causes uneven chopping.
Holding the Button Too Long
Food moves quickly from chopped to mushy.
Adding Whole Large Vegetables
Pre-cutting produces more consistent pieces.
Adding Too Much Liquid
The appliance may leak or fail to circulate the mixture properly.
Using the Wrong Food
Bones and other extremely hard ingredients can damage the appliance.
Scraping While the Blade Is Moving
Always stop and disconnect power first.
Putting the Motor Base in Water
The electric base should normally only be wiped clean.
Ignoring Maximum Runtime
A small motor can overheat if operated longer than its design allows.
Key Takeaway: Avoid overfilling, continuous processing, oversized ingredients, excess liquid, unsafe blade handling, and motor overheating.
Conclusion
For how to use a mini food chopper, begin by cutting larger ingredients into smaller pieces, installing the blade securely, and filling the bowl loosely rather than packing it to the top.
Lock the lid, then use short pulses to control the texture. Pause frequently to inspect the food and stop once it reaches the desired chop. This approach works especially well for onions, garlic, vegetables, herbs, nuts, breadcrumbs, and other small prep jobs.
Ingredient preparation matters as much as motor power. Similar starting sizes and small batches produce a much more even result, while overloaded bowls often create a mixture of large chunks and mush.
After chopping, unplug the appliance before opening it, remove the sharp blade carefully, and clean all food-contact parts promptly. Used this way, a mini food chopper can make everyday kitchen prep significantly faster without turning simple chopping jobs into a large food-processor cleanup task.
FAQs About Using a Mini Food Chopper
What can I put in a mini food chopper?
Common ingredients include onions, garlic, herbs, vegetables, nuts, breadcrumbs, cooked foods, and small amounts of meat if the model is rated for it. Follow the manufacturer’s food restrictions.
Do you need to add water to a mini food chopper?
No. Water is not needed for normal chopping. Add liquid only when making a recipe such as sauce, dip, or puree and only within the appliance’s liquid-capacity limit.
Can you chop onions in a mini food chopper?
Yes. Peel and cut the onion into several chunks, add them loosely to the bowl, and use short pulses until the pieces reach the desired size.
Can a mini food chopper chop carrots?
Yes, but firm carrots should be cut into smaller sections first. Work in small batches and pulse until they reach the required texture.
Can you chop nuts in a mini food chopper?
Yes. Use short pulses for chopped nuts and stop frequently because prolonged processing can release oils and begin turning the nuts into a paste.
How full should a mini food chopper be?
Stay below the appliance’s maximum fill line and leave enough open space for the ingredients to circulate around the blade. Smaller batches usually chop more evenly.
Why does my mini food chopper make food mushy?
The most common causes are running it too long, using long pulses, overfilling the bowl, or processing high-moisture foods too aggressively.
Do you have to cut food before putting it in a mini chopper?
Large ingredients should be cut into smaller, similarly sized pieces first. This reduces motor strain and produces a more consistent chopped texture.